

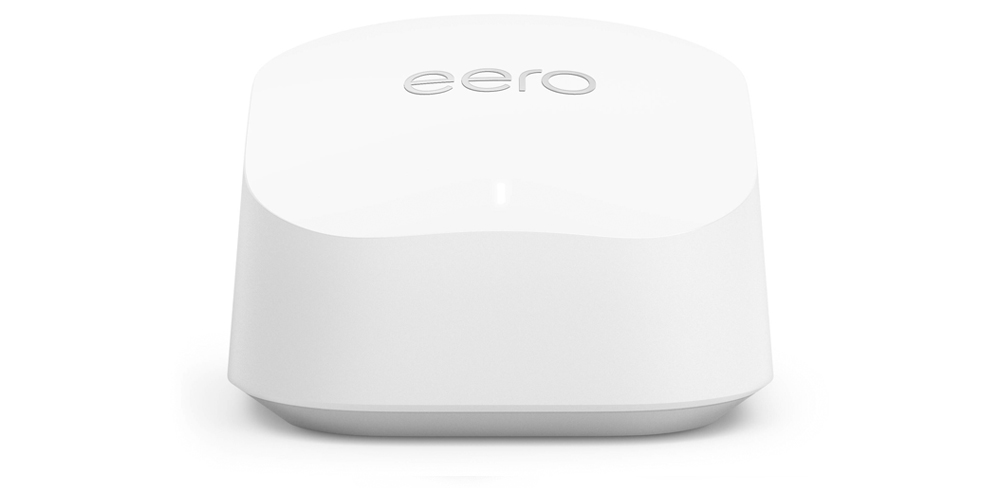
Introduction to Eero 6 +
Best for Voyager Unlimited 300, 500 or 920 Business Broadband Plans
- Wi-FI 6, up to 1 Gbps
- Support 75+ devices!
- 140m2 Coverage per unit*
Before you begin:
- Please ensure that Bluetooth and Wi-Fi are both enabled and permitted for the Eero App on your mobile phone.
- You'll also need to have mobile data available to complete the setup process.
- Make sure your phone is running a compatible version of iOS or Android, as the app may not work on older operating systems.
Getting Started
Click on the headings below to view details.
📲 Install the mobile app and create your account›
The Eero mobile app is your essential companion for setting up and managing your Eero router. You'll need to have it handy throughout the setup process and for ongoing maintenance. The app is designed to be incredibly user-friendly, with clear, step-by-step instructions that guide you through each stage, from unboxing to getting your Wi-Fi up and running. Whether you're adding more devices, checking connection health, or adjusting settings, the Eero app makes it simple and straightforward.

- If you are using an Apple iPhone: Eero wifi system on the App Store
- If you are using an Android phone: Eero wifi system - Apps on Google Play
Once you have installed the app, open it and follow the simple on-screen instructions to set up your Eero account.
- Please ensure that Bluetooth and Wi-Fi are both enabled and permitted for the Eero App on your mobile phone.
📶 Set up your Voyager Eero router and Wi-Fi›
- Unbox your router, but don't power it on yet.
- Open the Eero app and follow the simple on-screen instructions.
- When prompted, use the included cables to connect your Eero router to your Fibre ONT, then plug it in and power it on.
- Keep an eye on the light indicator on the Eero – it will show you the router's current status as you move through the setup steps.
- If you see a message saying "Your Eero 6+ can't reach the internet", refer to the troubleshooting section at the bottom of the page.
- Otherwise, you'll be asked to create a new Wi-Fi name and password for your Eero network during the setup.
- Follow all steps in the app to finish setting up your connection.
- When the service is running correctly, the Eero's light will be a solid white.
- Optional - If you also purchased any additional Eero mesh add-ons, you can click Add another Eero device at the last step.
Once everything's up and running, the Eero's LED will show a solid white light, confirmation that your connection is live and we're keeping you connected!
➕ How to add Eero mesh devices›
- Plug in your Eero add-on mesh device in your preferred room and ensure it is powered on
- On the home page of your Eero app, tap the (+) button in the top right-hand corner of your screen.
- Tap Add or Replace Eero Devices.
- Tap Add Eero Device and follow the on-screen instructions to complete the process of adding another Eero device
Maintenance
🛜 Updating your Wi-Fi Settings›
- Open your Eero App
- Tap on Settings in the bottom right-hand corner of the screen
- Tap on Wi-Fi name and password
- Tap on your Wi-Fi name and password to edit.
- Tap Save in the top right-hand corner
(Optional) To share your Wi-Fi network with others tap Share QR code or send the Wi-Fi details as a text message
🌐 How to run a speedtest›
- Open the app and tap the Internet button on the home screen.
- Tap Run Speed Test
Running a speed test through the app provides accurate insights into your current internet performance and can help detect any potential issues.
Prefer to use a browser?
You can also run a speed test on our Voyager website here: Broadband Speed Test. Check Your NZ Internet Speed | Voyager
Troubleshooting
⛔ Your Eero 6+ can't reach the internet›
If you receive a message saying "Your Eero 6+ can't reach the internet", this is probably because VLAN Tagging is not enabled. To fix this, please tap the Internet Settings button to manually update the configuration
DHCP is enabled by default, to continue using DHCP:
- Enable Uplink VLAN and enter 10 for the VLAN ID
- Tap Connect to wired internet
c. Then Tap Try wired connection
Alternatively, if you prefer a PPPoE Connection:
- To switch to a PPPoE configuration, tap WAN Type and change the WAN type to PPPoE.
- Then input your PPP username and password provided by Voyager and click Save settings
c. Then enable Uplink VLAN and enter 10 for the VLAN ID
d. Then tap Connect to Wired Internet
Once everything's up and running, the Eero's LED will show a solid white light, confirmation that your connection is live and we're keeping you connected!
Eero Subscription Guides
Voyager Eero Products
Get in touch
For any additional help, give us a call on 0800 477 333 (8AM to 10PM, 7 days a week).